İçindekiler
Water purifier filter replacement refers to the process of periodically renewing the filters inside the device. Filters remove limescale, sediment, chlorine, heavy metals, and microorganisms from tap water to provide clean water. However, each filter has a limited lifespan. Over time, filters become clogged, lose efficiency, and can no longer purify water properly. At this point, replacing the filters becomes essential both for the device’s performance and for safe water consumption.
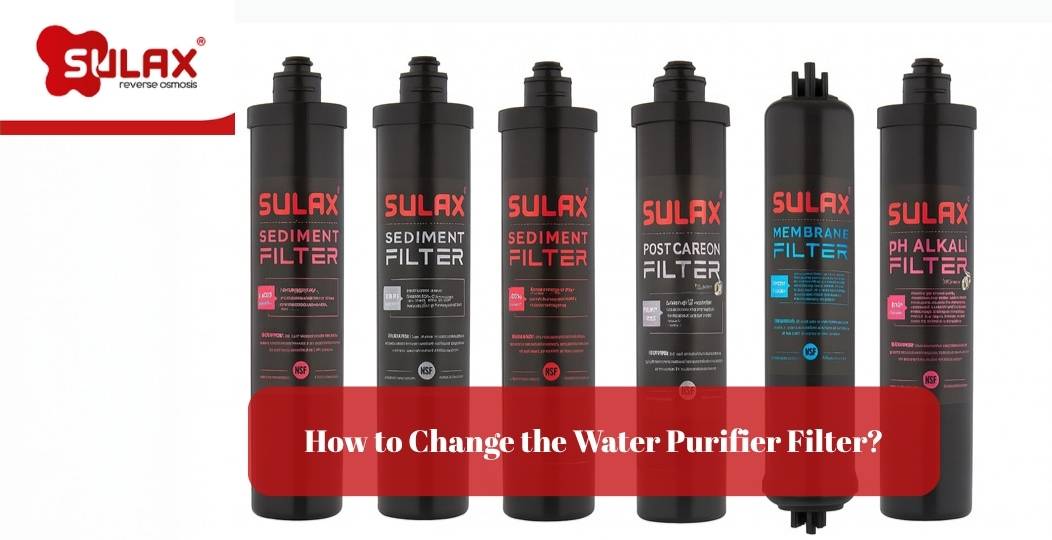
How to Replace a Water Purifier Filter?
Replacing the filter is one of the most crucial steps in ensuring healthy and high-quality water. Over time, filters lose their effectiveness; water quality deteriorates, and device performance declines. Therefore, regular filter replacement is necessary. Although each device may vary by model, the replacement process generally follows similar steps. Here’s how to safely and properly replace a water purifier filter:
Unplug the device and shut off the water supply.
Turn on the faucet to relieve system pressure.
Use a filter wrench to remove the filter housing caps.
Remove the old filters and insert new ones in the correct order.
Tightly close the caps and check for any leaks.
Turn the system back on and discard the first few liters of water.
Make sure to maintain hygiene during this process; your hands should be clean, and the filters must be installed without letting air enter.
How to Replace Filters in an Open-Case Water Purifier?
For open-case systems, follow these steps:
Unplug the device and shut off the water supply.
Open the faucet to release pressure.
Remove the housing caps using a filter wrench.
Take out the old filters and install the new ones in the same order.
Ensure each filter is seated properly and upright.
Close the caps tightly, reopen the water supply, and check for leaks.
Discard the first 5–10 liters of water before regular use.
How to Replace Filters in a Closed-Case Water Purifier?
For closed-case units, the steps are slightly different:
Unplug the device and shut off the water supply.
Open the outer casing using a screwdriver.
Carefully disconnect the old filter connections.
Install the new filters in the correct order and direction.
Ensure all connections are tight.
Close the casing, then turn on the power and water supply.
Start the device and check for leaks or malfunctions.
Flush the first 5–10 liters of water.
Note: Since incorrect installations are common in closed-case systems, it's highly recommended to have filter replacements done by authorized technical service. This protects the device warranty and ensures clean, safe water.
When Should You Replace Water Filters?
Replacement times vary depending on filter type. Average replacement intervals are:
Sediment filter: every 6 months
Activated carbon filter: every 6–12 months
RO membrane filter: every 18–24 months
Post-carbon (polishing) filter: every 12 months
However, these durations can vary depending on tap water quality, usage frequency, and filter brand. For example, in areas with high limescale content, filters may clog faster. Based on your local water conditions, water purification filters may wear out sooner and require more frequent inspection.
How Often Should Filters Be Replaced?
To maintain optimal performance, filters should be replaced at specific intervals. Manufacturers typically recommend:
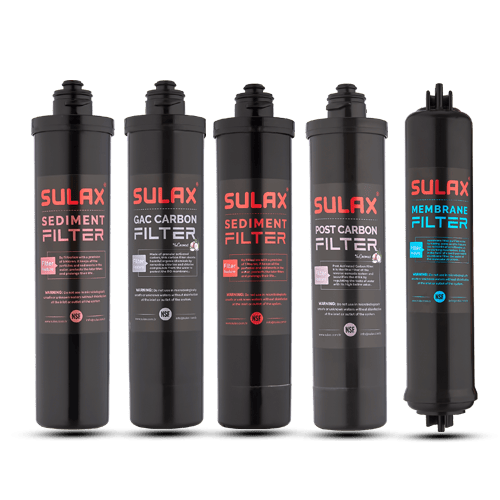
First 3 filters (sediment, granular carbon, block carbon): every 6 months
RO membrane: every 2 years
Polishing filter: every 12 months
If filter replacement is delayed:
Water may develop an unpleasant odor.
Filtration performance will decrease.
Bacterial growth may occur.
Clogged filters can damage pumps and other internal components.
Therefore, adhering to the manufacturer’s timeline or even creating a filter change schedule is highly recommended.
What Should Be Done After Filter Replacement?
After installing the new filters, follow these steps:
Turn on the water and check for leaks.
Let water flow until the storage tank is full.
Discard the first 1–2 tanks of water to flush out any residues from the new filters.
Ensure that the water coming from the faucet is clear, odorless, and clean.
Note the date for future filter replacement tracking.
Keep in mind that the device will operate more efficiently, and the water taste will noticeably improve after filter replacement.
Why Is Filter Replacement Important?
Filter replacement is essential to maintain safe and clean drinking water. Water purifiers remove sediment, chlorine, heavy metals, and bacteria from tap water. But over time, filters become clogged and ineffective.
Regular filter changes not only extend the lifespan of your device but also preserve the quality of the purified water. No matter how expensive or high-tech the system is, if filters are dirty, water quality will suffer.
Replacing filters as per the manufacturer's recommended intervals ensures optimal performance and consistent water safety. Routine maintenance guarantees long-term device health and continuous access to clean water. For more information, read our guide on water purifier maintenance.
What Happens If You Don’t Replace Water Filters?
Neglecting filter replacement can lead to the following issues:
Water may become dirty, cloudy, or develop a bad odor.
Old filters can harbor bacteria and microorganisms over time.
Clogged filters hinder water flow, causing the system to consume more energy.
Sensitive components like the pump and membrane may get damaged.
Poorly purified water can negatively impact your digestive and immune systems.
That’s why water filter replacement should never be neglected. Ideal intervals (e.g., every 6, 12, or 24 months) must be followed consistently. This is particularly vital for sensitive groups like children and the elderly.